Once you have a custom table you can populate the records from an external file. To import from a file into a custom table follow the steps below.
1 Open ACT
2 Click File > Import into custom tables
3 Click the next button
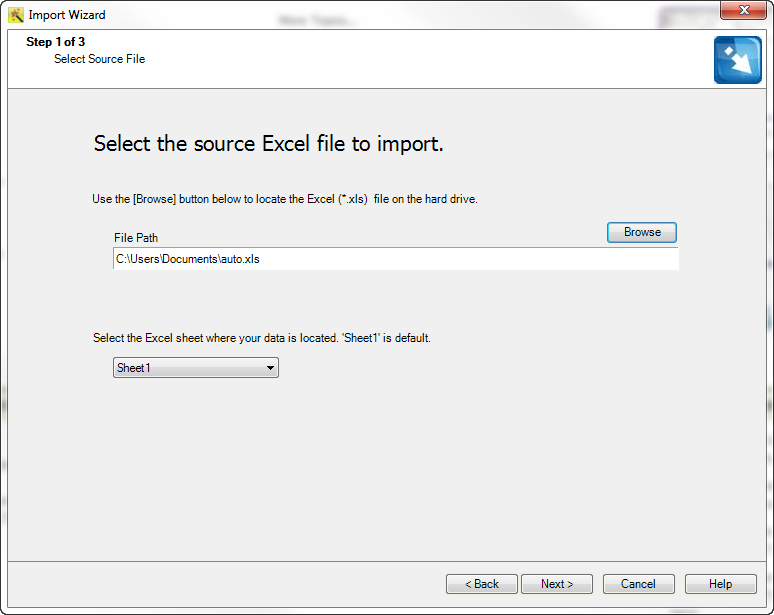
4 Click the browse button to choose a file to import. Valid file types are Excel ( .xls & .xlsx ), Comma Delimited ( .csv ) & XML. If you choose an Excel file select the sheet name for the file
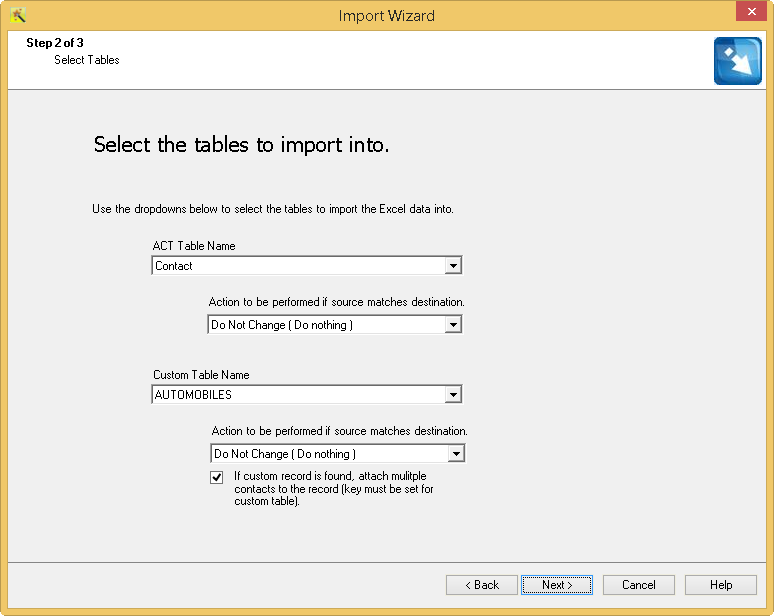
5 Select the ACT table name that the records will be attached to and the table name of the custom table. The two drop down lists give the choice to do not change or replace with source, do not change will not change any fields if on importing replace with source will overwrite the data in the ACT database with the information from the external file. If the "Attach multiple Act entities" checkbox is checked and a primary key for the custom table is set in step 6, when importing if the custom table record is found more than once during the import each Act entity will be attached to the custom table record.
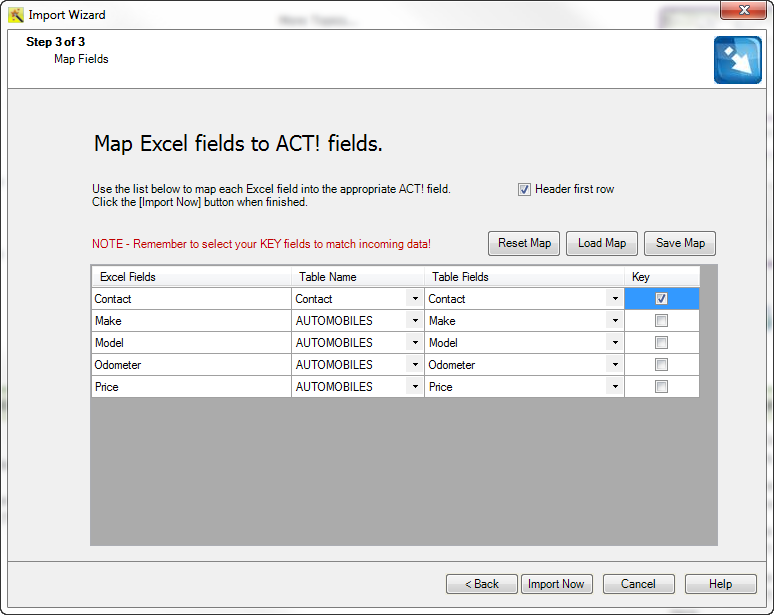
6 Math the external file fields with the correct table name and table field from ACT. At lease one key is required for the ACT table, this is used to find the correct ACT entities to attach the records to. A key is not required for the custom table, it is only needed if you want to update records already in the database.
7 When the import is done a window will say "Import Complete"


 Email This Article
 Previous Article
 Next Article