This section describes how to import data from an Excel spread sheet (*.XLS, *.XLSX, *.XML or *.CSV) or an XML formatted file.
To access the Import Wizard open the FILE menu and select "Import into custom table..." The 'Import Wizard" form will open. Click on the NEXT button to get to STEP 1.
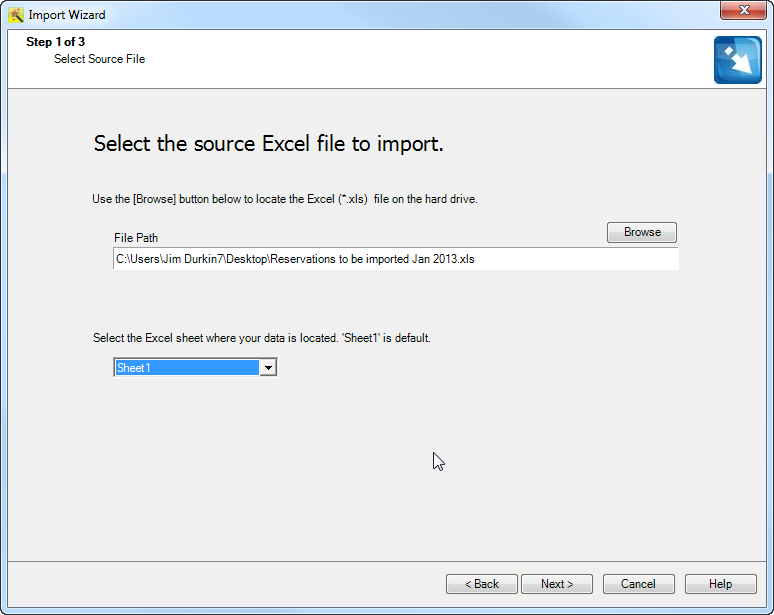
STEP 1
1. Click on the BROWSE button to select your file to import. File formats supported are XLS, XLSX, CSV and XML.
2. Using the SHEET drop down select which sheet to import.
3. Click on the NEXT > button to continue to Step 2.
STEP 2
Top level table: Contact Company , Group or Opportunity
1. Using the "ACT Table Name" drop down select which top level table to attached these new record to.
You must select either; contact, company, group or opportunity.
2. Using the drop down select the "Action to be performed if the source matches destination". Do not change will not change the parent entity field, change will update the field
3. Check 'Attach import record to all entities found' will attach all attach the imported data to all contacts, companies, groups or opportunities that match the search criteria
4. Using the "Custom Table Name" drop down select which custom table you are importing into. This will display all the custom tables in the current database.
5. Using the drop down select the "Action to be performed if the source matches destination" Do not change will not change the parent entity field, change will update the field
6. Click on the NEXT > button to continue to Step 3
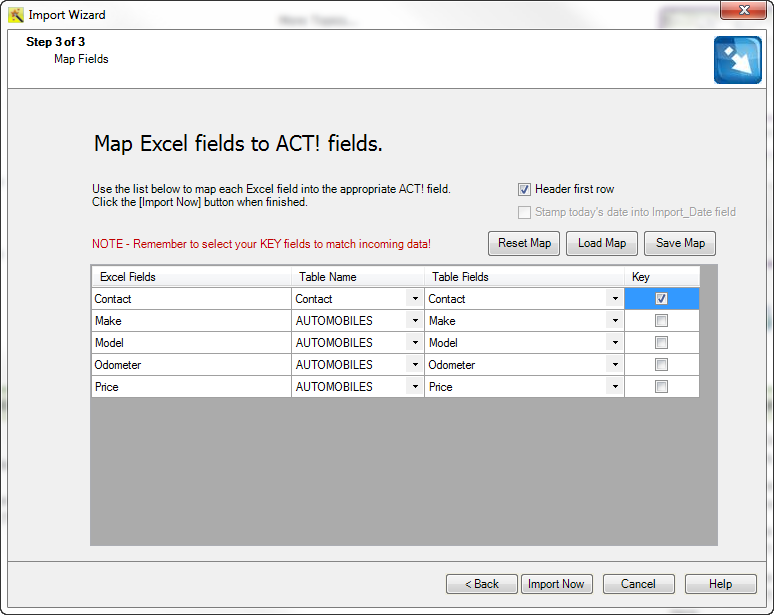
STEP 3
By default the import engine will match like fields from the Excel file to fields in the parent and custom table.. So if you Excel headers match all the fields in your custom table then. If the 'Table Fields' column is blank you need to use the drop down to select the fields in the custom table to map to.
If the custom table has a date field called "Imported_Date" you can check the Stamp today's date into Import_Date field, the import date will be stamped into that field during the import.
You can save and recall maps by using the "Save Map" and "Load Map" buttons. Maps are stored in an XML file format on your hard drive.
1. Select the desired fields to map to.
2. Select the KEY fields
These are the fields which the import will match on when looking up the record in the database.
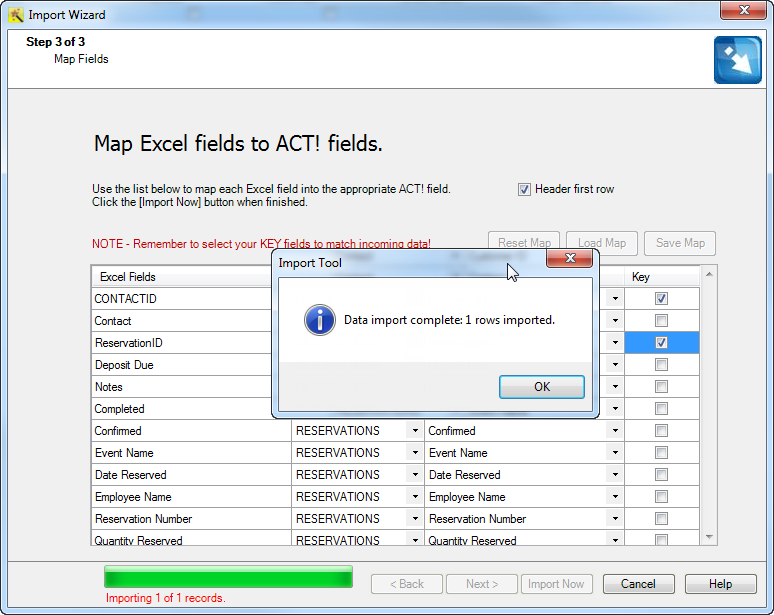
3. Click on the IMPORT NOW button to start the import process.
When you click on the IMPORT NOW button you will be presented with a progress bar indicating the amount of work completed. When the import has finished you will receive a confirmation dialog. Click OK to close the import wizard.


 Email This Article
 Previous Article
 Next Article